EN
EN
 AR
AR
 DA
DA
 NL
NL
 FI
FI
 FR
FR
 DE
DE
 EL
EL
 HI
HI
 IT
IT
 JA
JA
 KO
KO
 NO
NO
 PL
PL
 PT
PT
 RO
RO
 RU
RU
 ES
ES
 SV
SV
 TL
TL
 IW
IW
 ID
ID
 SR
SR
 VI
VI
 HU
HU
 TH
TH
 TR
TR
 FA
FA
 MS
MS
 IS
IS
 AZ
AZ
 UR
UR
 BN
BN
 HA
HA
 LO
LO
 MR
MR
 MN
MN
 PA
PA
 MY
MY
 SD
SD

کیمرہ تیاری کا عمل: ڈیزائن سے پیداوار تک: ایک مرحلہ بہ مرحلہ گائیڈ
کیمرہ ماڈیولز بنانے میں ماہر ہونے کے ناطے، میں دنیا بھر کے کاروباری مالکان کو یہ سمجھنے میں مدد کر چکا ہوں کہ کیسے اعلیٰ معیار کے کیمرہ ماڈیولز تیار کیے جائیں۔ میں آپ کے لیے کیمرہ تیاری کے عمل کو آسان بنانا چاہتا ہوں، جس میں واضح معلومات فراہم کر کے آپ کو اس کی سہولت ملے گی۔
کیمرہ بنانے کے عمل کے لیے بہت ہی درست اور محکم مراحل کی ضرورت ہوتی ہے، ڈیزائن سے لے کر پیکیجنگ تک۔ جب اسے صحیح طریقے سے کیا جاتا ہے، تو اس سے بہترین کیمرے تیار ہوتے ہیں جو بہترین تصاویر لیتے ہیں، طویل مدت تک چلتے ہیں، اور صارفین خوش رہتے ہیں۔
یہ گائیڈ آپ کو کیمرہ بنانے کے اہم مراحل کے بارے میں سکھائے گا کیمرا ماڈیول ۔ اس میں منصوبہ بندی، مواد کا انتخاب، عدسہ اور سینسرز کو جوڑنا، اور آخر میں معیار کی جانچ پڑتال کو بھی شامل کیا جائے گا۔
کیمرہ بنانے کے عمل کے اہم مراحل کیا ہیں؟
مرحلہ #1: تحقیق و ترقی (R&D)
یہ تحقیق و ترقی کا مرحلہ ایک اعلی کارکردگی والے کیمرے کی بنیاد رکھتا ہے:
-
صارف کی ضروریات کی شناخت کرنا: ویسی خصوصیات، افعال، اور تجربے کی معلومات جمع کرنا جو مطلوبہ ہوں۔ یہ معلومات مصنوعات کے ڈیزائن کی رہنمائی کرے گی۔
-
ٹیکنیکل ضروریات کا مطالعہ کریں: کیمرے کے امیج سینسر، عدسہ کی اقسام، ریزولوشن اور بیٹری کی لمبائی جیسی تکنیکی تفصیلات طے کریں۔
-
پہلے ماڈل بنائیں: اپنی مصنوع کے ابتدائی ورژن (جنہیں "پروٹو ٹائپس" کہا جاتا ہے) بنائیں تاکہ اس کی بنیادی افعال اور ڈیزائن کی جانچ کی جا سکے۔ اس سے آپ کو وقت پر ممکنہ مسائل کی نشاندہی اور انہیں حل کرنے میں مدد ملے گی۔
-
کارکردگی کے ٹیسٹ کریں: اگلے مرحلے پر جانے سے پہلے ڈیزائن کو بہتر بنانے کے لیے معیارِ معیار اور کارکردگی کے مقابلے میں پہلے ماڈل کا جائزہ لیں۔
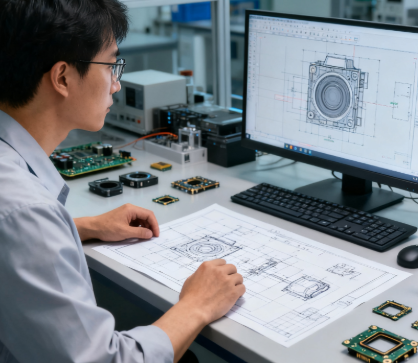
مرحلہ #2: ڈیزائن اور منصوبہ بندی
ڈیزائن اور منصوبہ بندی تحقیق و ترقی کے بصیرت کو پیداوار کے لیے تیار بلیو پرنٹ میں تبدیل کرتی ہے:
-
ابتدائی خاکے تیار کریں : تمام اجزاء کو بصری طور پر لاگو کریں تاکہ پیداواری ٹیموں کی رہنمائی کی جا سکے۔
-
3D ماڈلز تیار کریں : جسمانی تیاری سے پہلے اجزاء کی اسمبلی، فٹنگ اور محاذبندی کو نظریہ بنانے کے لیے آٹوکیڈ جیسے سافٹ ویئر کا استعمال کریں۔
-
پیداوار کے عمل کی منصوبہ بندی کریں : رکاوٹوں سے بچنے اور پیداوار کو مسلسل رکھنے کو یقینی بنانے کے لیے اسمبلی سے لے کر ٹیسٹنگ تک ہر مرحلے کا نقشہ تیار کریں۔
مرحلہ #3: مواد اور اجزاء کی حصولیابی
کیمرے کی قابل اعتمادیت کے لیے اعلیٰ معیار کے مواد کا حصول نہایت ضروری ہے:
-
درکار اجزاء کی فہرست بنائیں : عدسے، سینسرز، بیٹریاں، ہاؤسنگ اور دیگر ضروری اجزاء شامل کریں۔
-
قابل اعتماد سپلائرز سے رابطہ کریں: وہ سپلائرز منتخب کریں جن کے الیکٹرانکس اور کیمرے بنانے کا تجربہ ہو۔
-
نمونے اور کوٹ کی درخواست کریں : معیار کی جانچ اور قیمت کا موازنہ کرنے کے لیے نمونہ اجزاء کا تجربہ کریں۔
-
معاہدوں کو حتمی شکل دیں : ترسیل کے وقت، قیمت، اور معیار کے معیارات کی تفصیل بیان کرنے والے معاہدوں پر دستخط کریں تاکہ ایک مستحکم سپلائی چین کو یقینی بنایا جا سکے۔
مرحلہ #4: عدسہ کی تیاری
کیمرے کی کارکردگی کے لیے اعلیٰ معیار کے عدسے اہم ہیں:
-
شیشے کو ڈھالنا : آپٹیکل گلاس کو پگھلانا اور اسے عدسے کی شکل دینے کے لیے درست ڈھالنے میں ڈالنا۔
-
عدسے کی پالش کرنا : سطحوں کو چکنا کرنا تاکہ خامیوں کو ختم کیا جا سکے اور وضاحت کو بہتر کیا جا سکے۔
-
کوٹنگز کا اطلاق : ڈیوریبلٹی اور تصویر کی کوالٹی کو بہتر بنانے کے لیے روشنی کو روکنے اور خراش مزاحم کوٹنگز شامل کریں۔
-
معیار کے لیے معائنہ کریں : لینس کی وضاحت، شکل، اور ابعاد کی تصدیق کریں، اور معیار پر پورا نہ اترنے والے کو خارج کر دیں۔
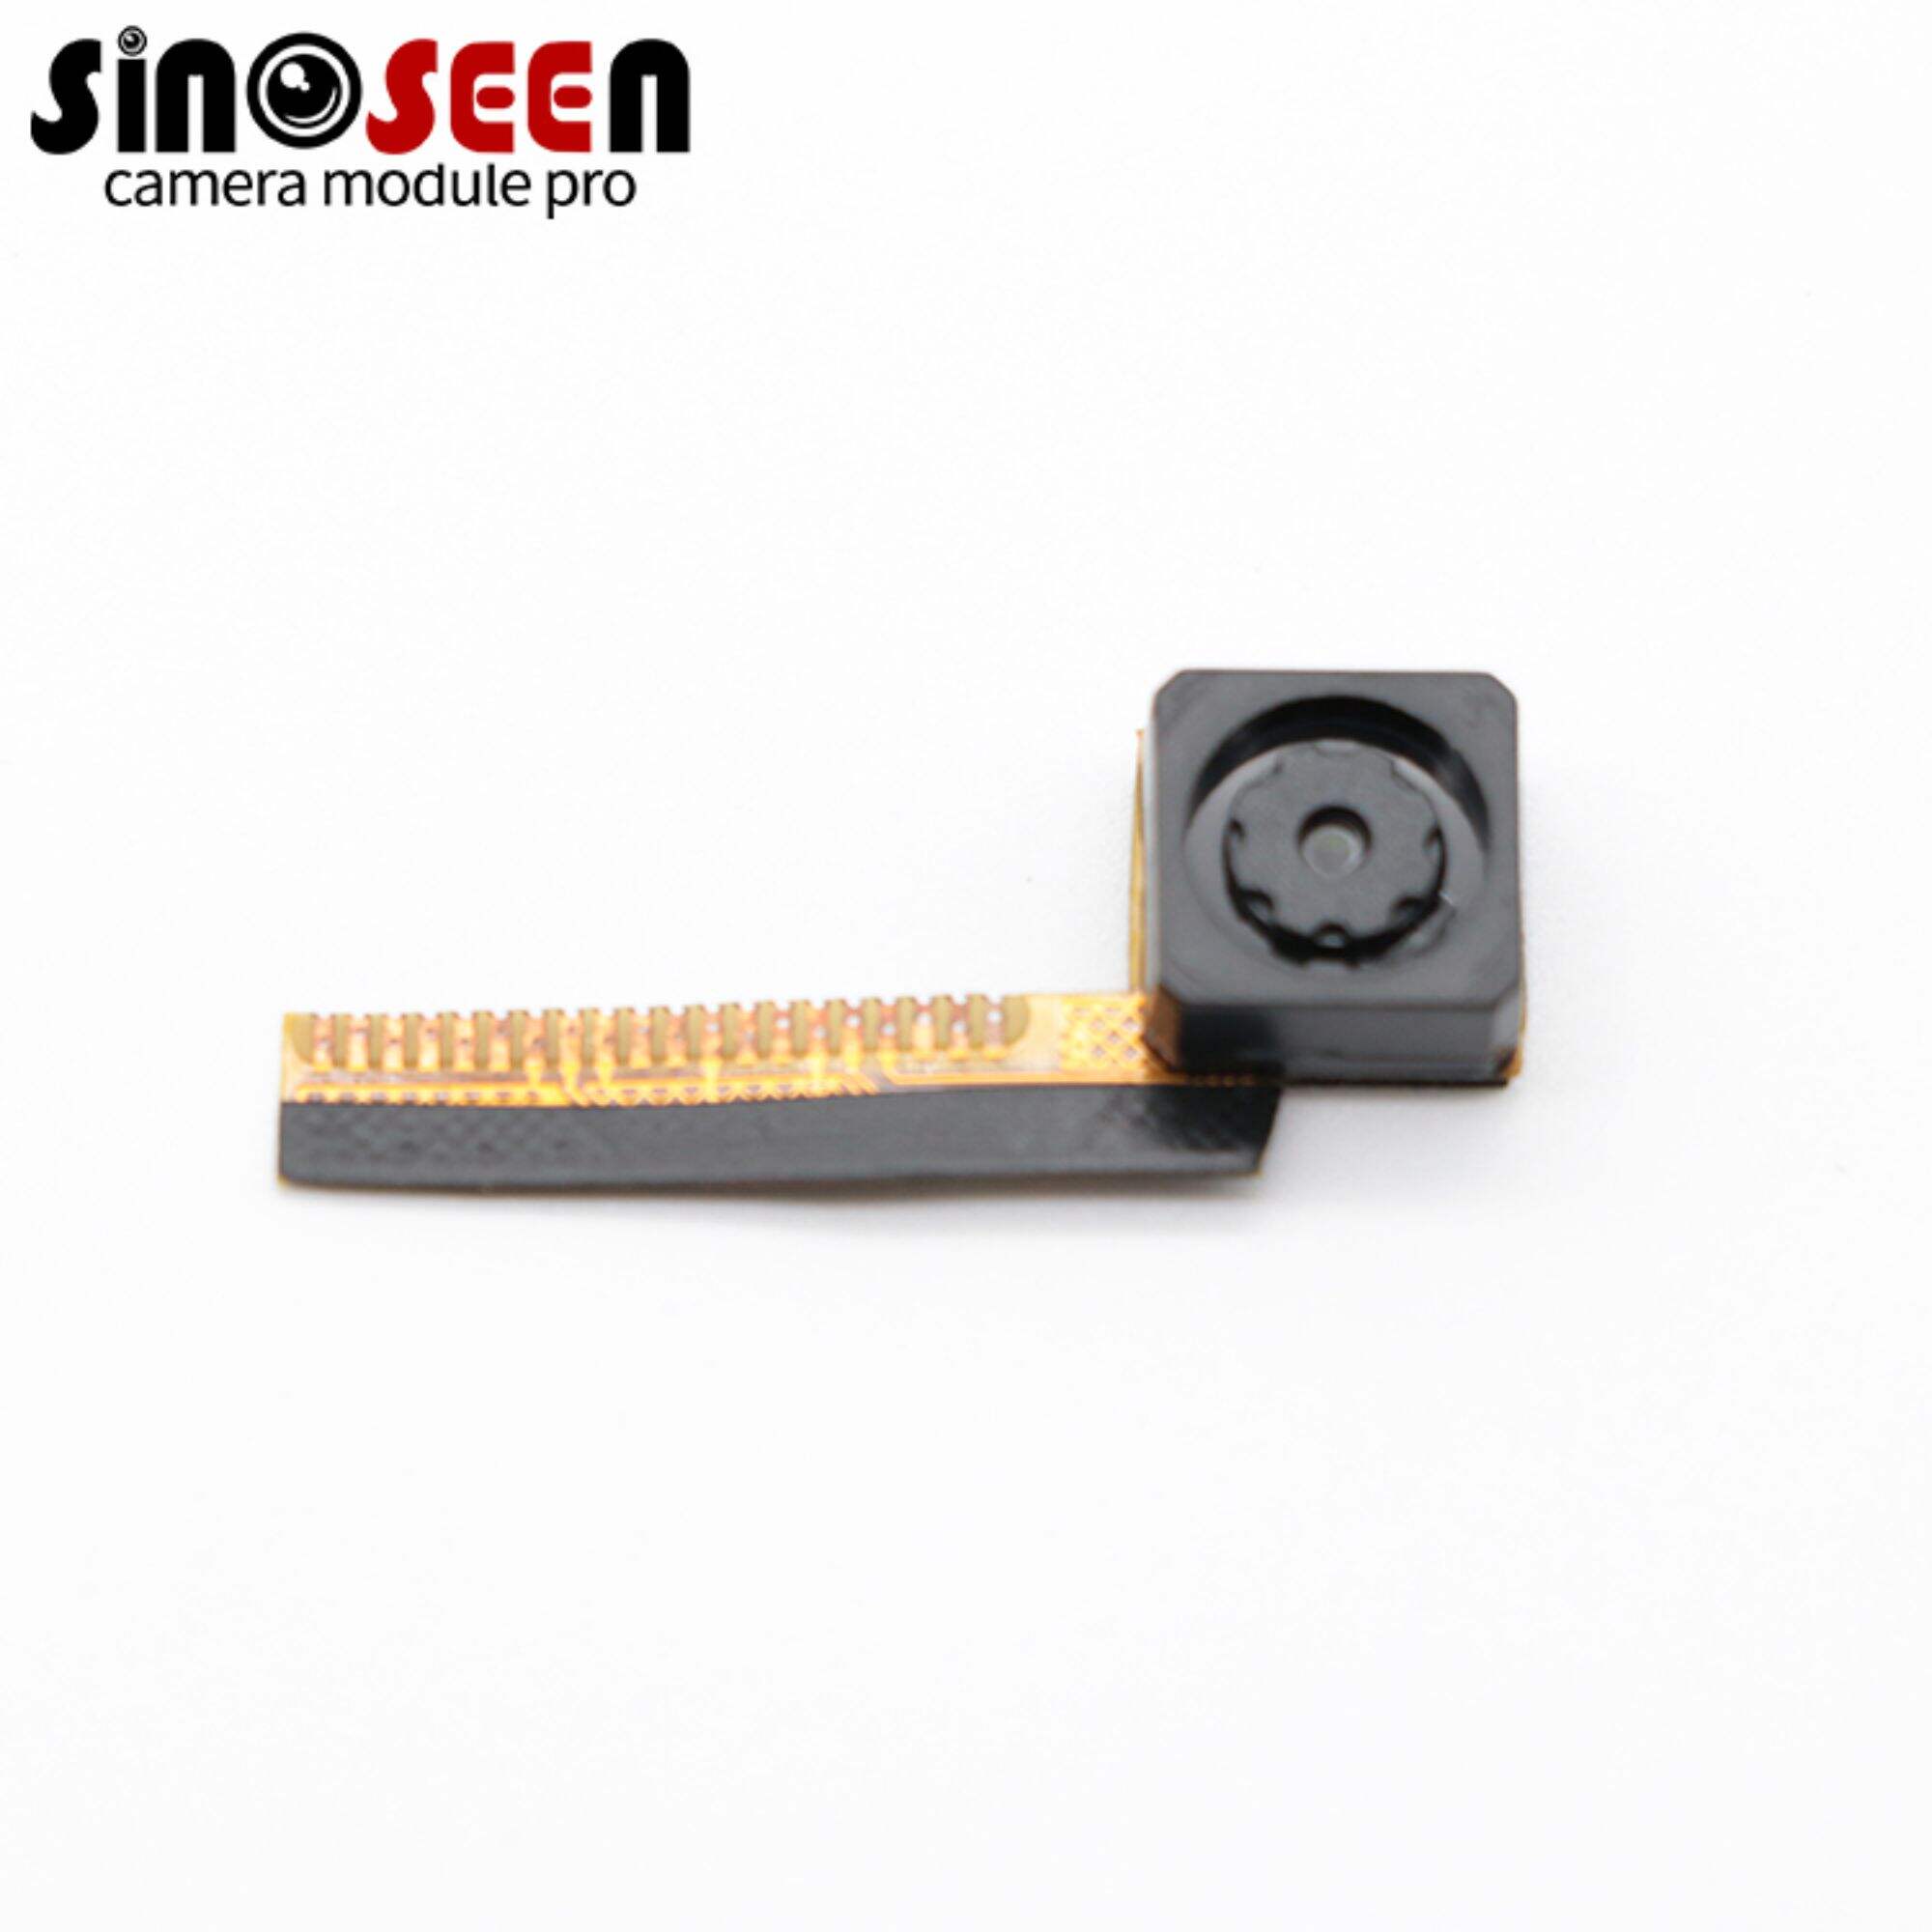
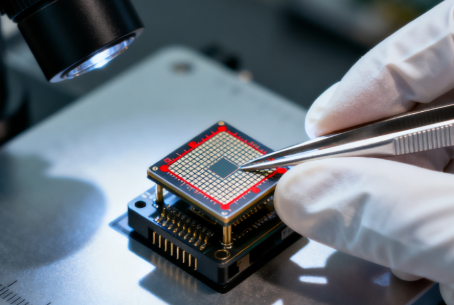
مرحلہ #5: سینسر اسمبلی
یہ تصویر سینسر اسمبلی مرحلہ اہم تصویر کی اجزاء کو ضم کرتا ہے:
-
سینسر بیس تیار کرنا : دھول اور ذرات کو ہٹانے کے لیے صاف کریں، اسمبلی کی سطح کو صاف رکھنے کو یقینی بنائیں۔
-
سینسر اجزاء کو مربوط کرنا : سینسر چپ کو بیس پر سہی طریقے سے محفوظ کریں۔
-
تاروں اور سرکٹس کو جوڑیں : کیمرے کے سرکٹ بورڈ کے ساتھ سینسر کو ضم کریں۔
-
سینسر فنکشنلٹی کا آزمائش : کارکردگی کی تصدیق کرنے اور مکمل ماڈیول اسمبلی سے قبل مسائل کو درست کرنے کے لیے ابتدائی ٹیسٹس چلائیں۔
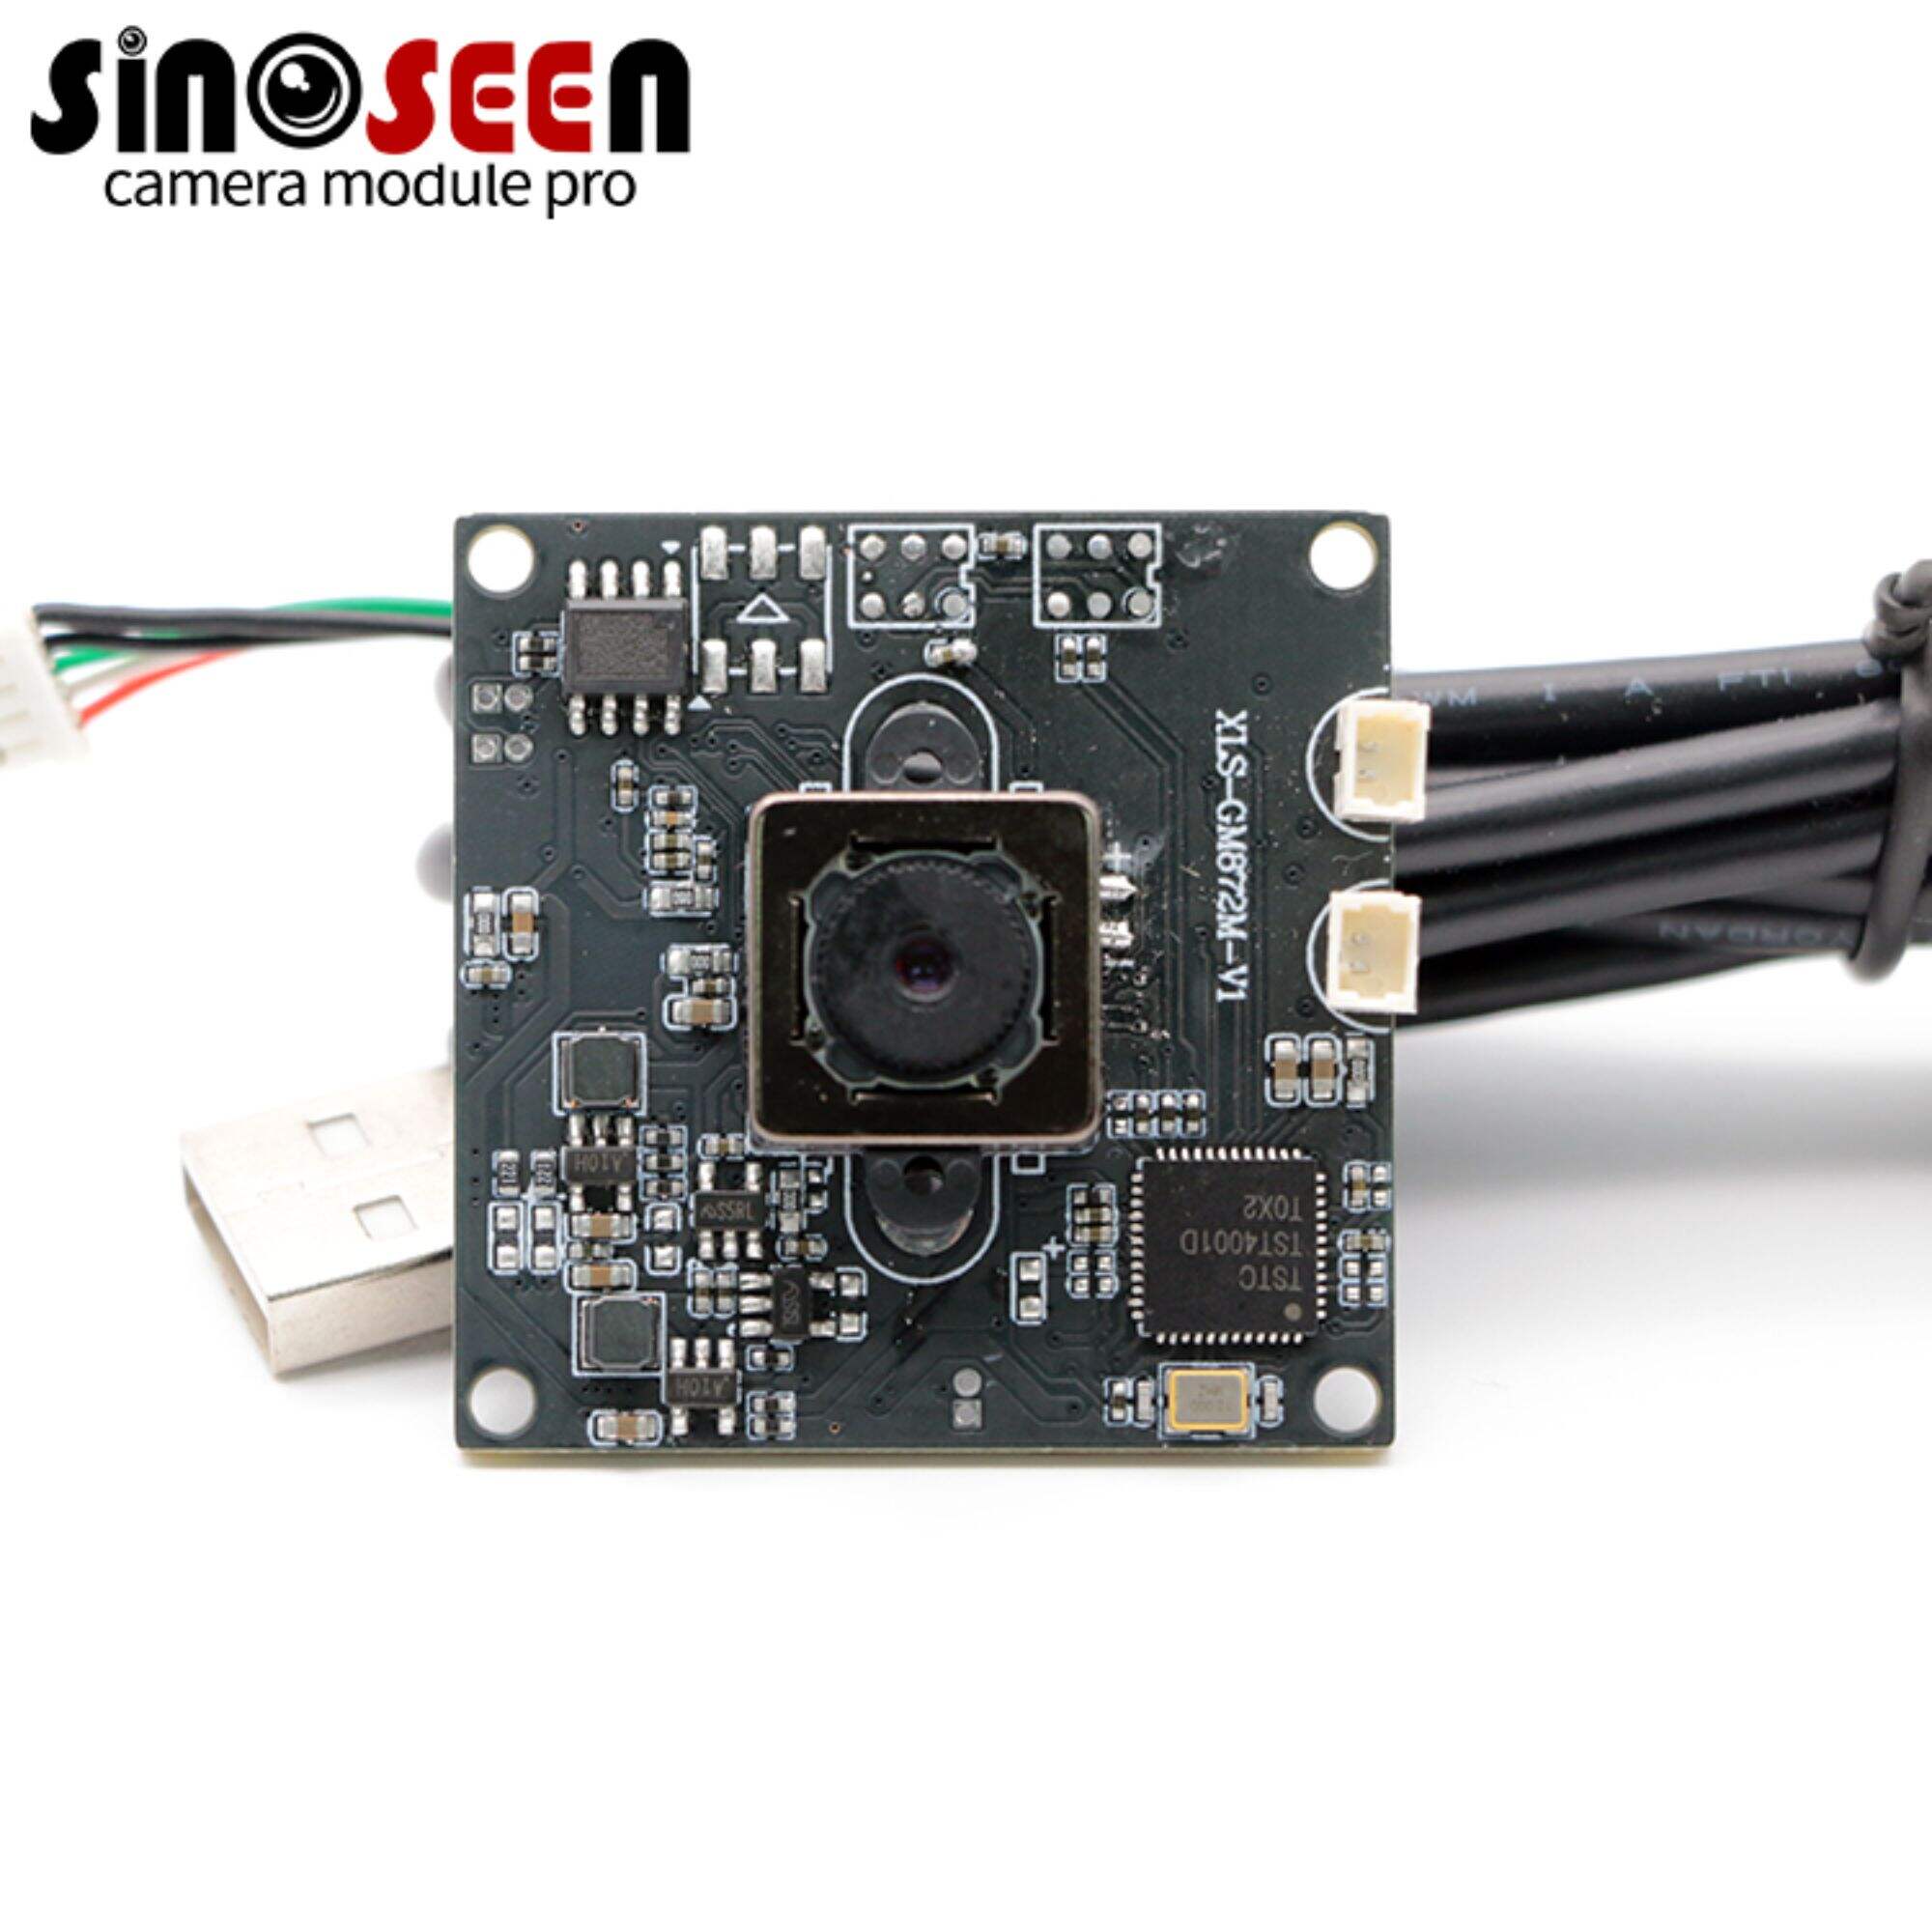
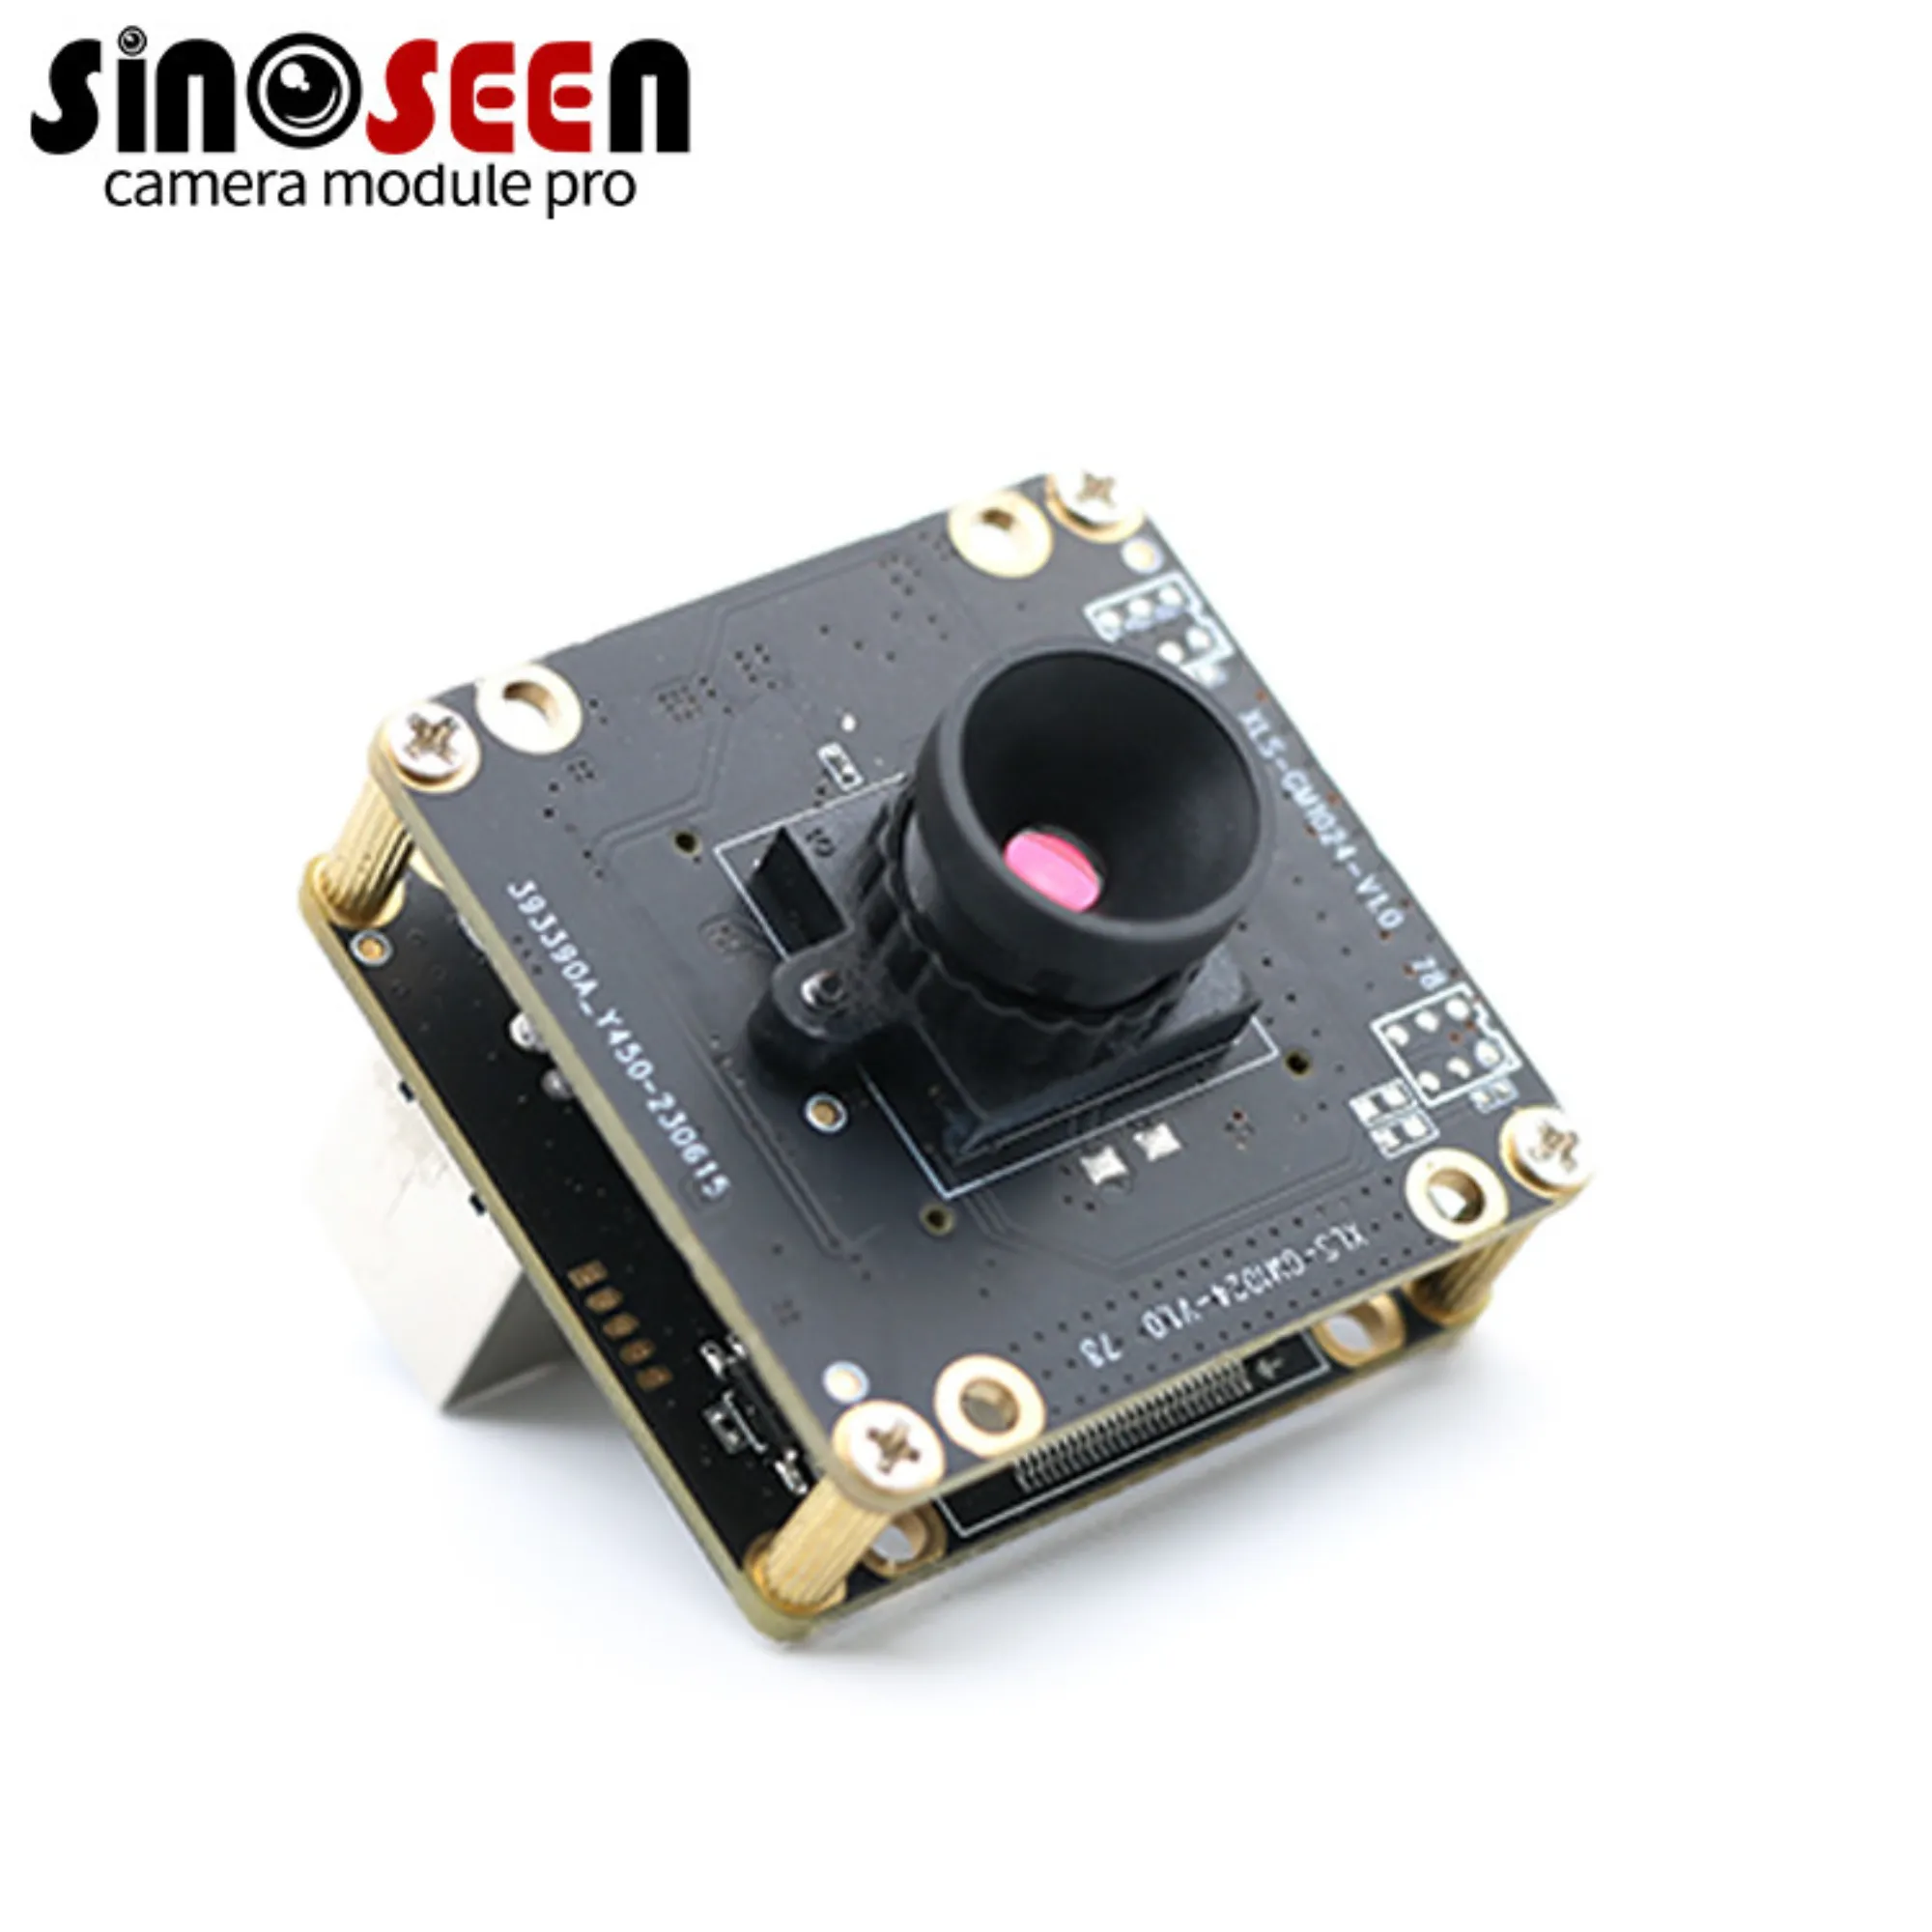
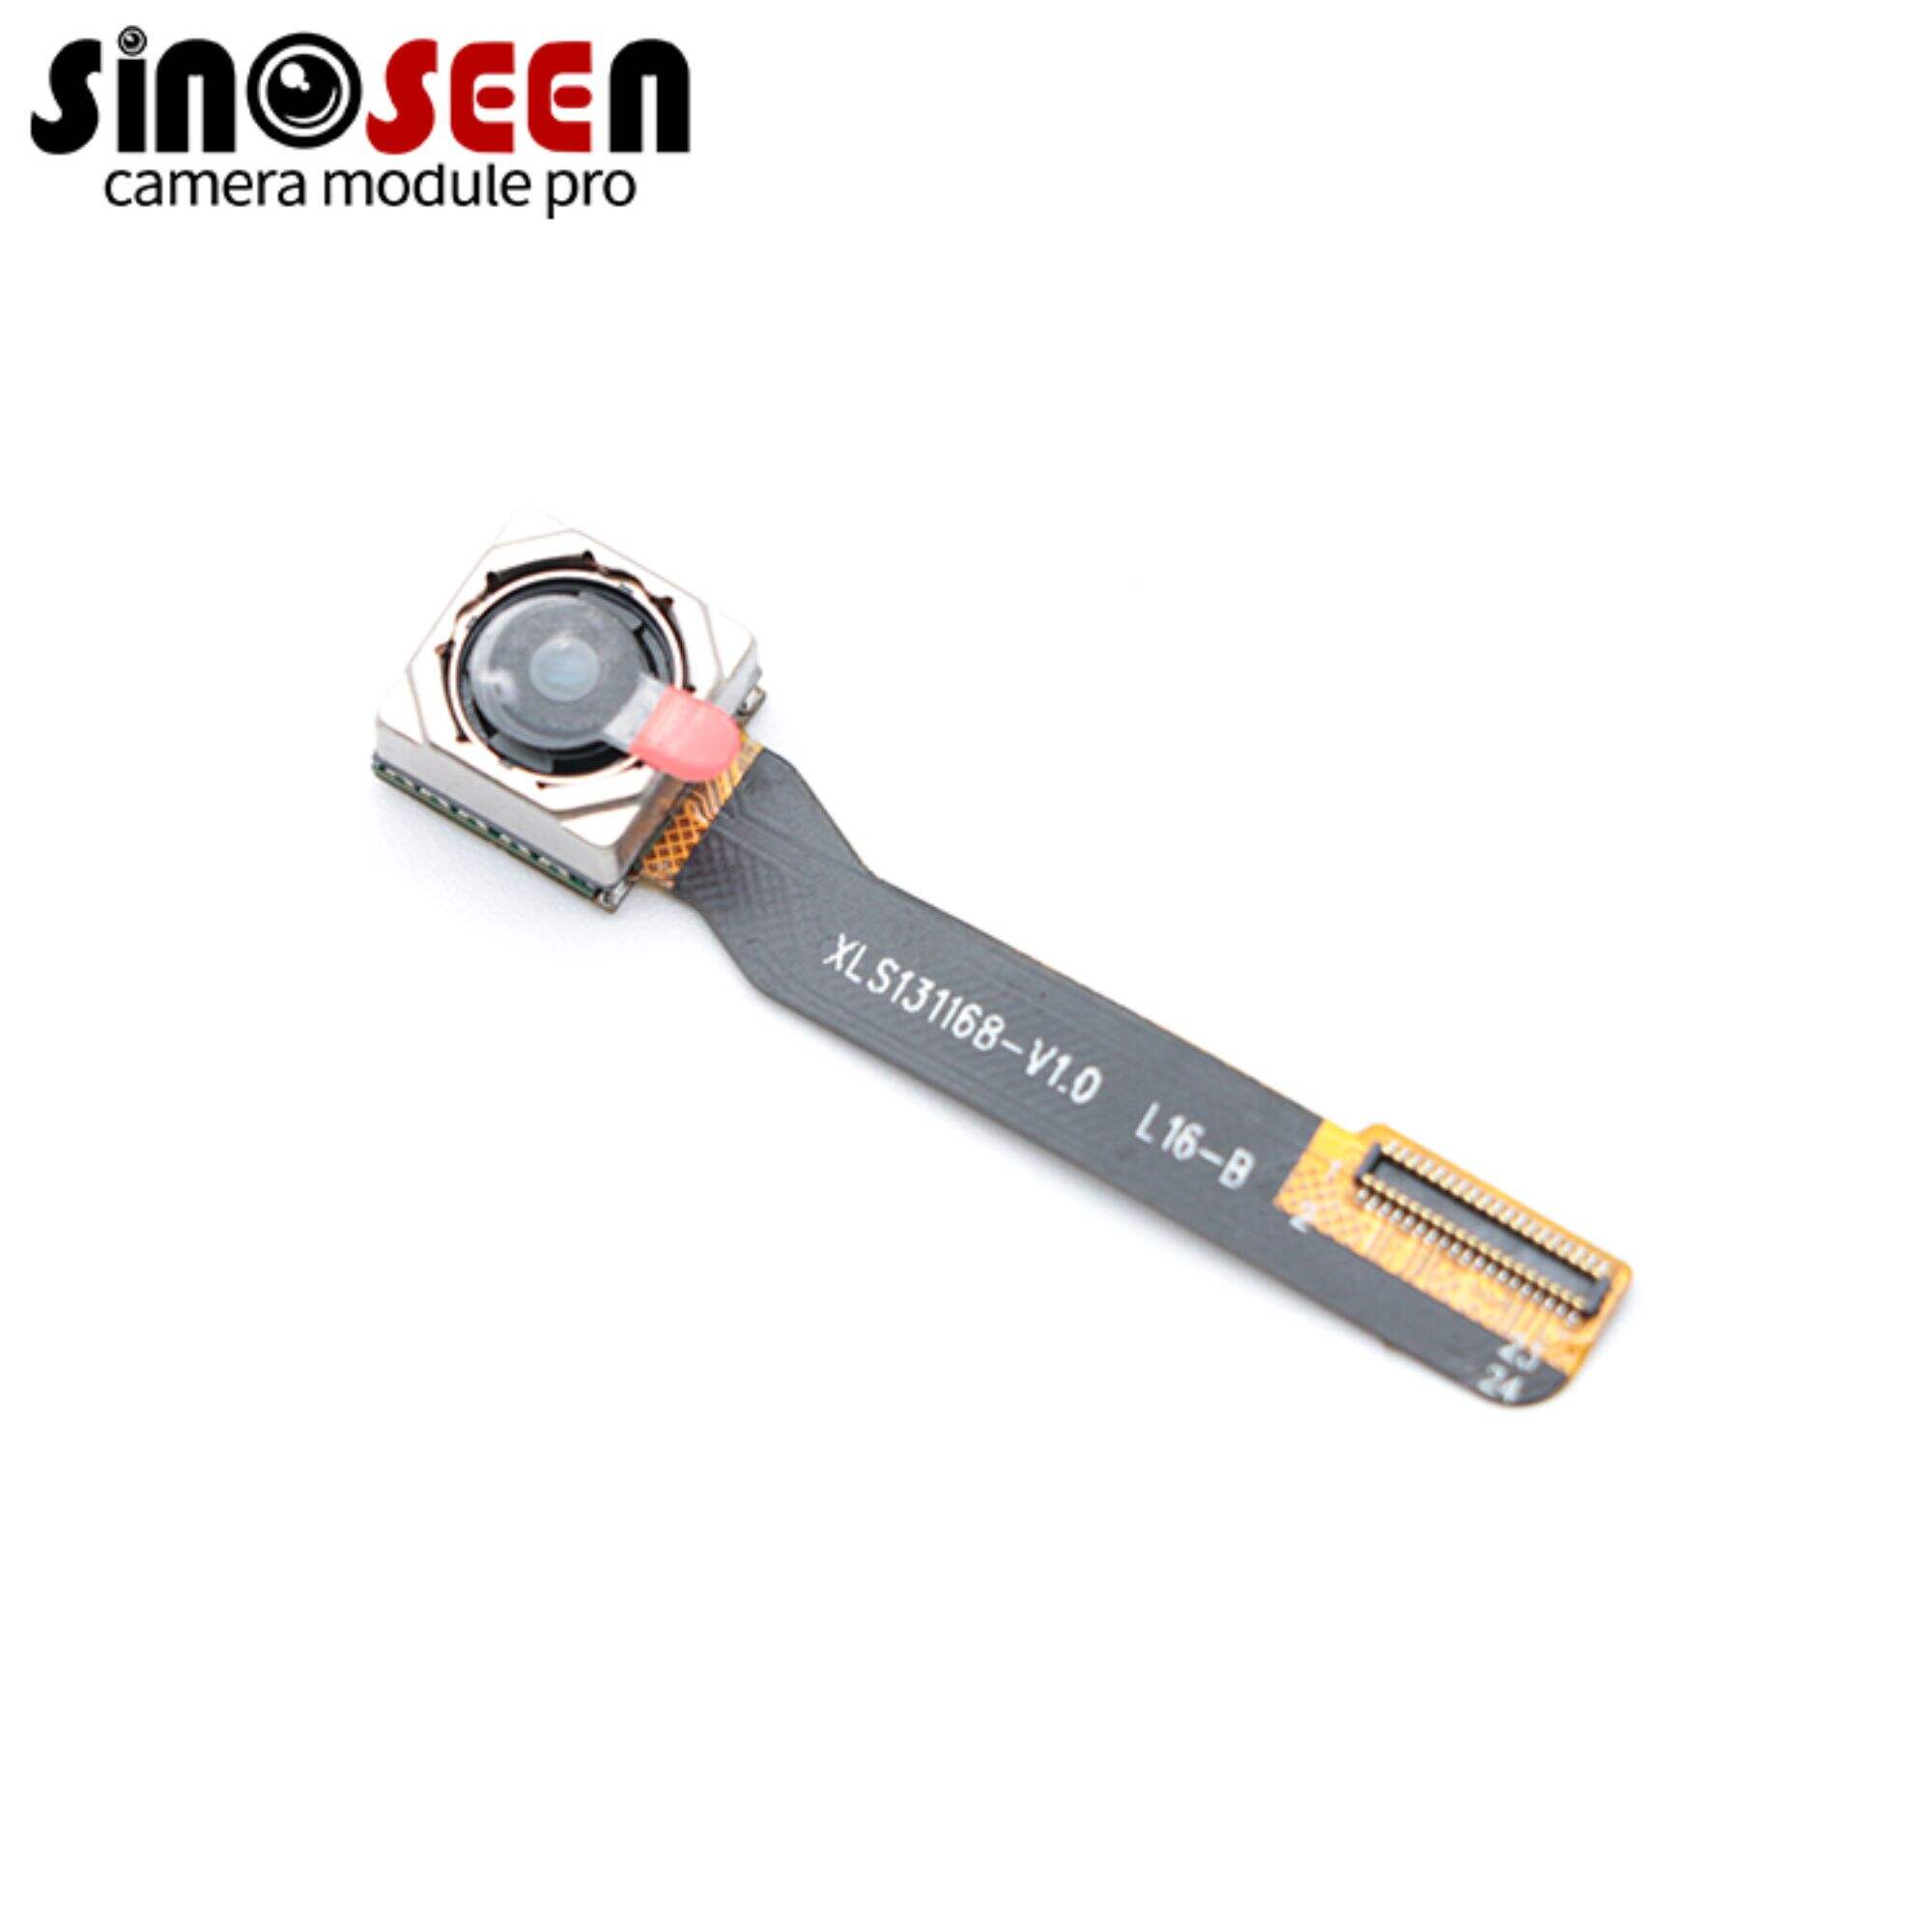
مرحلہ #6: کیمرے کے ماڈیول کی تعمیر
کام کرنے والا کیمرہ ماڈیول بنانے کے لیے اجزاء کو جوڑیں:
-
سینسر اور لینس کو محفوظ کریں : ماڈیول کیس کے اندر سینسر اور لینس کو درست طریقے سے نصب کریں۔
-
ابتدائی ماڈیول ٹیسٹس چلائیں : یقینی بنائیں کہ عدسہ اور سینسر موثر انداز میں اکٹھے کام کریں۔
-
ماڈیول کی درستگی کو یقینی بنائیں : کارکردگی کو مستحکم رکھنے کے لیے میکانیکی استحکام اور ہم آہنگی کی جانچ کریں۔
مرحلہ #7: سرکٹ بورڈ اسمبلی
سرکٹ بورڈ کیمرے کے افعال کو طاقت فراہم کرتا ہے اور کنٹرول کرتا ہے:
-
بورڈ پر اجزاء کو رکھیں : مزاحمت کنندہ، سیپیسیٹرز، مائیکروچپس اور کنٹرولرز کو نصب کریں۔
-
سولڈر اجزاء : مستحکم برقی بہاؤ کو یقینی بنانے کے لیے اجزاء کو جوڑیں۔
-
کنیکٹرز کو لگائیں : کیمرہ ماڈیول کے ساتھ انضمام کو فعال کریں۔
-
ٹیسٹ فنکشنلیٹی : یہ تصدیق کریں کہ سرکٹس ہموار انداز میں کام کریں، اور آخری اسمبلی سے قبل کسی بھی مسئلہ کو حل کریں۔
مرحلہ #8: کیمرہ باڈی اسمبلی
کیمرہ کا تحفظی خانہ اسمبل کریں:
-
مرکزی فریم اسمبل کریں : استحکام اور توازن کے لیے بنیادی ڈھانچہ تیار کریں۔
-
سکرکٹ بورڈ نصب کریں : فریم کے اندر بورڈ کو محفوظ کریں تاکہ حرکت کو روکا جا سکے۔
-
سینسر اور لینس ماؤنٹ لگائیں : سینسر اور لینس ماؤنٹ کو درست طریقے سے پوزیشن کریں۔
-
جسم کو سیل کریں اور معائنہ کریں : پینلز کو بند کریں اور ڈھیلے پرزے یا درزیں ہونے کی جانچ کریں۔
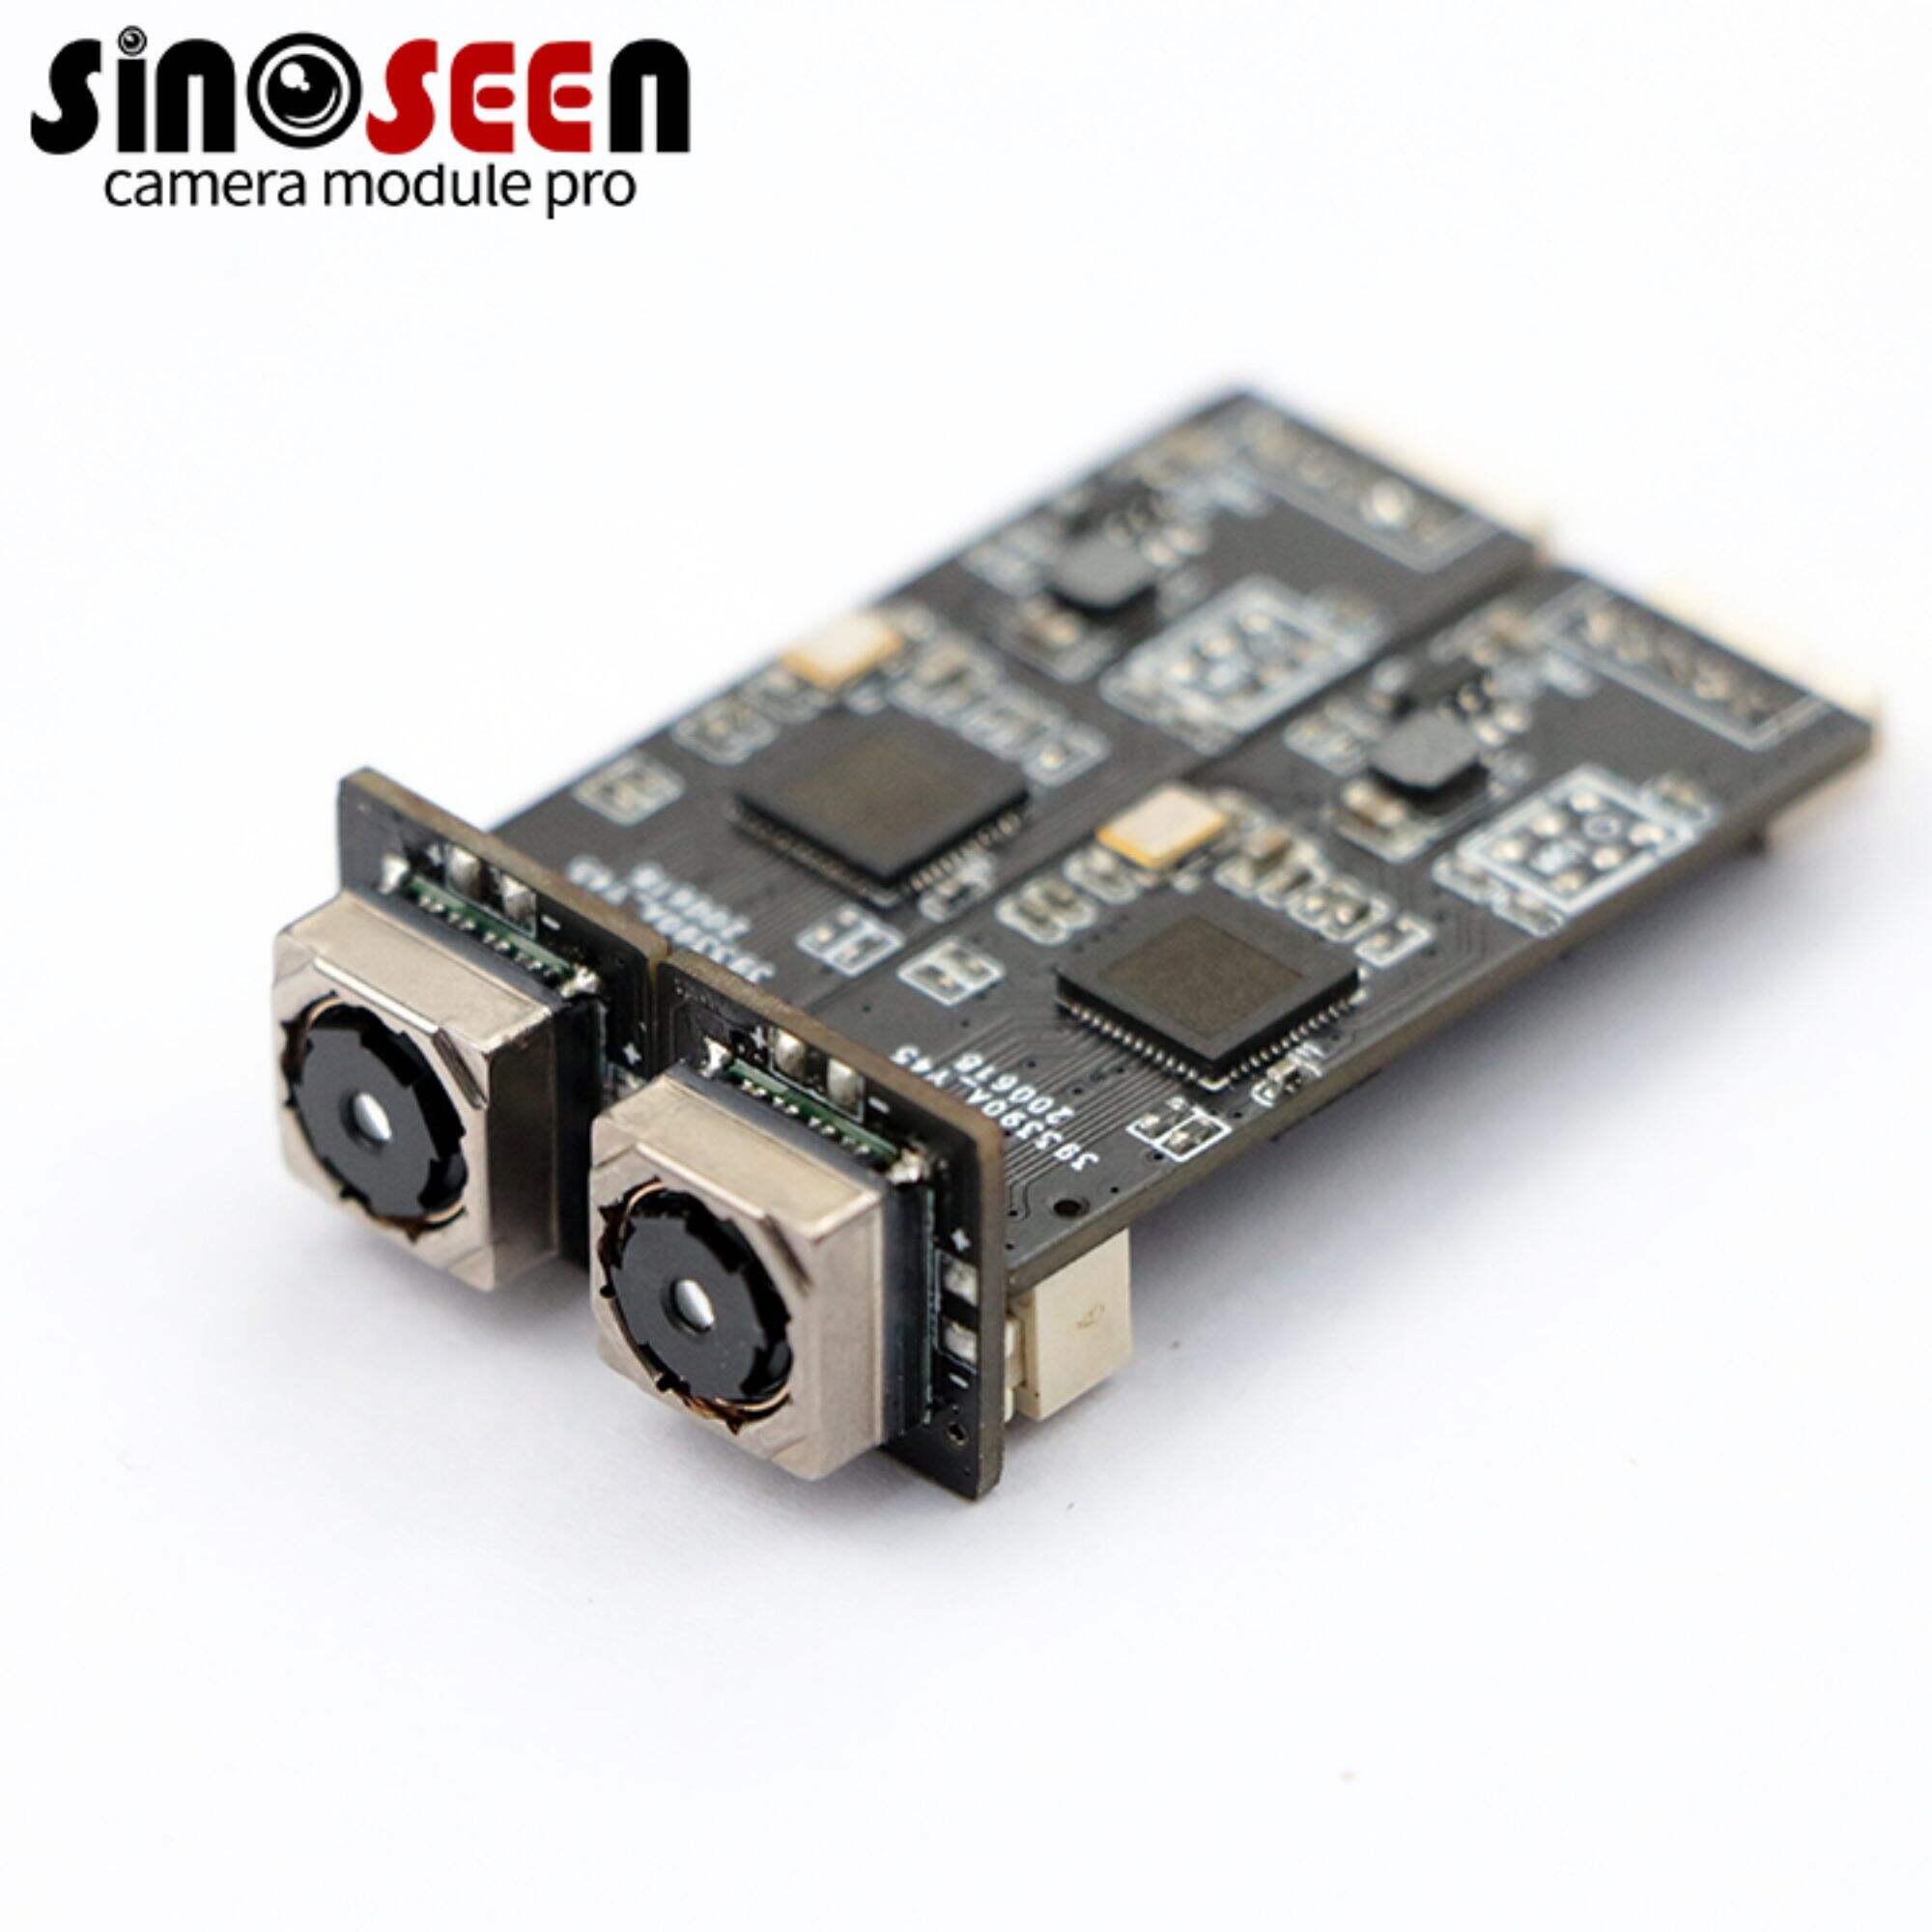
مرحلہ #9: کمپونینٹ انضمام
کیمرے کے تمام ذیلی اسمبلیز کو مکمل کیمرے میں ضم کریں:
-
سینسر کو سرکٹ بورڈ سے جوڑیں : سینسر اور بورڈ کے درمیان ڈیٹا ٹرانسفر کو یقینی بنائیں۔
-
لینس مکینزم کی تنصیب : بہترین امیجنگ کے لیے لینس مکینزم کو سینسر کے ساتھ ہم آہنگ کریں۔
-
پاور ذریعہ شامل کریں : کیمرہ سسٹم کو چالو کرنے کے لیے بیٹری کو منسلک کریں۔
-
اولیت سسٹم ٹیسٹ چلائیں : یقینی بنائیں کہ تمام اجزاء بے خلل کام کر رہے ہیں۔
مرحلہ #10: سافٹ ویئر کی تنصیب
سافٹ ویئر اعلیٰ کیمرہ خصوصیات فراہم کرتا ہے:
-
کیمرہ کو کمپیوٹر سے منسلک کریں : یو ایس بی یا مطابق انٹرفیس کا استعمال کریں۔
-
آپریٹنگ سافٹ ویئر کی تنصیب کریں : ہارڈ ویئر کے اجزاء کے درمیان رابطہ کو فعال کریں۔
-
صارف انٹرفیس کی خصوصیات شامل کریں : مینیو، ترتیبات اور ڈسپلے فنکشنز کی تنصیب کریں۔
-
سافٹ ویئر کی کارکردگی کی تصدیق کریں : تمام خصوصیات کو چیک کریں تاکہ ہموار کارکردگی یقینی بنائی جا سکے۔
مرحلہ #11: معیار کنٹرول اور ٹیسٹنگ
معیار کی یقین دہانی کیلئے دیگر اور کارکردگی کو یقینی بنائیں:
-
فعال ٹیسٹ چلائیں : تصویر کے حصول، زوم، خودکار توجہ مرکوز اور دیگر اہم وظائف کی تصدیق کریں۔
-
تصویر کی کوالٹی کی جانچ کریں : تیزی اور رنگ کی درستگی کے لئے مختلف روشنی کی حیثیت میں ٹیسٹ کریں۔
-
جسمانی اجزاء کا معائنہ کریں : باڈی، لینس اور بٹن کی خرابی کی جانچ کریں۔
-
دوڑی بیلٹ ٹیسٹ کریں : گرنے اور کمپن ٹیسٹ کر کے قابل بھروسہ ہونے کی تصدیق کریں۔
مرحلہ #12: پیکیجنگ اور تقسیم
آخری مرحلہ کیمرے کو بازار کے لیے تیار کرتا ہے:
-
پیکیجنگ مواد کو جوڑیں : باکس، پیڈنگ اور تحفظ کے لیے لپیٹیں۔
-
کیمرہ اور ایکسیسیریز کو پیک کریں : کیبلز، بیٹریز، ہدایات اور حفاظت کے لیے پیڈنگ شامل کریں۔
-
لیبل لگائیں اور باکس کو سیل کر دیں : مصنوعات کی معلومات، سیریل نمبرز اور بارکوڈ شامل کریں۔
-
شپنگ کا انتظام : خوردہ فروشوں یا صارفین کو وقت پر ترسیل یقینی بنانے کے لیے لاجسٹکس کا انتظام کریں۔
کیمرہ ماڈیول کی جانچ کی کارروائیاں مصنوعات کی معیار کو کیسے یقینی بناتی ہیں؟
ہم نے اوپر کیمرہ ماڈیول کی اسمبلی اور معیار کے کنٹرول کا مختصر جائزہ لیا ہے۔لیکن، کیمرہ ماڈیول کی کتنی ہی پیچیدہ اسمبلی کیوں نہ ہو، سخت جانچ کے بغیر حتمی مصنوع کے معیار کی ضمانت نہیں دی جا سکتی۔ کیمرہ ماڈیول کی جانچ ایک کثیر الجہت عمل ہے جو مختلف حالات میں کارکردگی کی تصدیق کرتا ہے۔
1. برقی اور مکینیکل جانچ:
سب سے پہلے، کیمرہ ماڈیولز کو بجلی کے ذریعے جانچا جاتا ہے تاکہ یہ چیک کیا جا سکے کہ بجلی کی فراہمی، سگنل ٹرانسمیشن، اور انٹرنیٹ کنکشن مناسب طریقے سے کام کر رہے ہیں۔ اسی وقت، مکینیکل ٹیسٹس—جیسے وی سی ایم حرکت کی حد اور خودکار تیزی کی جانچ—کی تیزی کو چیک کر کے یہ یقینی بنایا جاتا ہے کہ ہر چیز صحیح طریقے سے کام کر رہی ہے۔
2. آپٹیکل کارکردگی کی جانچ:
یہ کیمرہ کے جانچ کا مرکزی حصہ ہے۔ اس مرحلے کے دوران، کیمرہ ماڈیول کو ایک معیاری تجربہ گاہی ماحول میں رکھا جاتا ہے جہاں متعدد کارکردگی کے معیارات کا جائزہ لیا جاتا ہے۔
تجربہ کی اشیاء میں شامل ہیں، مگر ان تک محدود نہیں:
- وضاحت کا تجربہ: اس میں ISO معیاری وضاحت ٹیسٹ چارٹس کے استعمال سے کیمرہ کی باریک تفصیلات کو ریکارڈ کرنے کی صلاحیت کا جائزہ لینا شامل ہے۔
- رنگ دوبارہ پیدا کرنے کا تجربہ: روشنی کی مختلف حالت کے تحت کیمرہ کی رنگ کو درست طریقے سے دوبارہ پیدا کرنے کی صلاحیت کا جائزہ لینے کے لیے رنگ ٹیسٹ چارٹس کا استعمال کرنا۔
- خرابی کا تجربہ: لینس کی وجہ سے پیدا ہونے والے بیرل یا پنکوشن خرابی کو ناپنا تاکہ یقینی بنایا جا سکے کہ یہ قابل قبول حدود کے اندر ہے۔
- کمزور روشنی کا تجربہ: کمزور روشنی میں کیمرہ کی شور کی سطح اور سگنل سے شور کے تناسب کا جائزہ لینا۔
3. ماحولیاتی اور قابل اعتمادی کے ٹیسٹنگ:
کیمرہ ماڈیول کو آخر میں حقیقی دنیا کے استعمال میں درپیش چیلنجز کی نقل کرنے کے لیے ماحولیاتی ٹیسٹس کی ایک سیریز سے گزرنا ہوتا ہے۔ ان میں درجہ حرارت کی بلندی اور پستی، کمپن، گرنے، اور زیادہ نمی کے ٹیسٹ شامل ہیں۔ طویل مدتی پروڈکٹ کی قابل اعتمادی کو یقینی بنانے کے لیے یہ ٹیسٹس نہایت اہم ہیں۔
نتیجہ
کیمرہ کی تیاری کا عمل ایک انجینئرنگ کوشش ہے جو سائنس اور ہنر مندی کا امتزاج ہے۔ کیمرہ ماڈیول کی اسمبلی میں مائیکرون کی سطح پر درستگی سے لے کر سخت ٹیسٹنگ کے طریقہ کار تک، ہر مرحلہ انتہائی اہم ہے۔ کیمرہ کی حتمی معیار ان تمام پیچیدہ مراحل کی عکاسی کرتی ہے۔ ایمبیڈڈ ویژن میں کام کرنے والے ہر انجینئر کے لیے ان طریقوں کو سمجھنا ضروری ہے تاکہ ڈیزائن کیا جا سکے اور اعلیٰ کارکردگی والے کیمرہ ماڈیولز کا انتخاب کیا جا سکے .
ہم امید کرتے ہیں کہ یہ گائیڈ کیمرہ تیاری کے عمل کے بارے میں قیمتی بصیرت فراہم کرے گی۔ اگر آپ کو کوئی قابل بھروسہ کیمرہ ماڈیول سپلائر تلاش کر رہے ہیں، تو سنوسین کے ساتھ شراکت داری پر غور کریں۔ ہم آپ کی پیداواری کام کے مراحل کو سہل بنانے کے لیے تیز رفتار کوٹیشنز اور تفصیلی انجینئرنگ سپورٹ فراہم کرتے ہیں۔ آج ہی ہم سے رابطہ کریں —ہمارے انجینئرز آپ کی مدد کے لیے تیار ہیں!
فیک کی بات
سوال 1: کیمرہ ماڈیول تیار کرنے کا عمل کیا ہے؟
جواب 1: اس میں تحقیق و ترقی، ڈیزائن، مواد کی فراہمی، لینس اور سینسر اسیمبلی، کیمرہ ماڈیول اور سرکٹ بورڈ اسیمبلی، سافٹ ویئر کی تنصیب، معیار کی جانچ اور پیکیجنگ شامل ہے۔
سوال 2: لینس کے معیار کو کیسے یقینی بنایا جاتا ہے؟
جواب 2: لینسوں کو درست انداز میں ڈھالا، پالش کیا، کوٹ کیا اور جانچا جاتا ہے تاکہ یہ یقینی بنایا جا سکے کہ وہ صاف اور پائیدار ہیں۔
سوال 3: وی سی ایم اسیمبلی کیا ہے؟
جواب 3: وائس کوائل موٹر اسیمبلی خودکار فوکس کے لیے موٹرز کو سینسرز کے ساتھ ضم کرتی ہے۔
سوال 4: کیمرہ کی قابل اعتمادی کی جانچ کیسے کی جاتی ہے؟
جواب 4: ماحولیاتی، وظیفہ جاتی، اور مزاحمت کی جانچ سے یقینی بنایا جاتا ہے کہ کارکردگی مستحکم رہے۔
سوال5: سافٹ ویئر کیمرے کی کارکردگی کو کیسے متاثر کرتا ہے؟
جواب5: فرم ویئر اور تصویر پروسیسنگ سافٹ ویئر فوکس، ایکسپوژر، اور تصویر کی کوالٹی کو بہتر بناتا ہے۔